Sono infatti progettati per essere applicati con poche e semplici operazioni per garantire un’installazione veloce e senza intoppi.
I pannelli ISOVISTA® combinano un eccellente isolamento termico e un’estrema facilità di installazione.
Sono infatti progettati per essere applicati con poche e semplici operazioni per garantire un’installazione veloce e senza intoppi.
ISOVISTA® è semplice e veloce da installare
Grazie allo speciale incastro a pettine e alle rondelle di ancoraggio inserite nel pannello, è sufficiente fissarlo alla parete e fugare.
Il peso ridotto, inoltre, ne permette l’applicazione da parte di un singolo operatore.
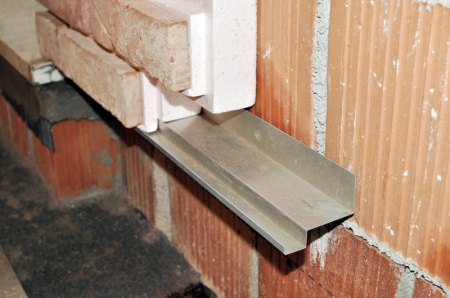
1. Fissare in bolla il profilo di partenza lungo tutta la base della costruzione (su rivestimenti interni non è necessario).
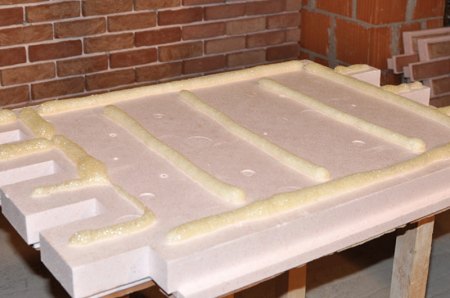
2. Applicare la colla IsoVista sul retro del pannello, con metodo a cornice e 3 fasce centrali.
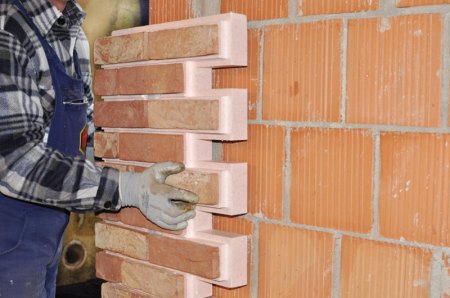
3. La sequenza di posa deve sempre cominciare dall’angolo, qualora fosse necessario. Appoggiare il pannello e premere con le mani per distribuire la colla
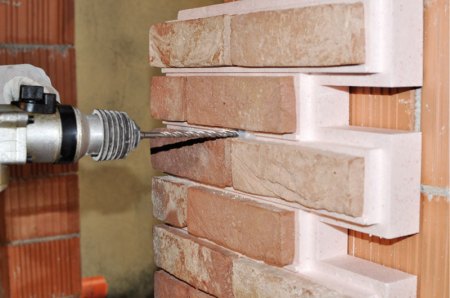
4. Forare il muro attraverso le rondelle di ancoraggio presenti.
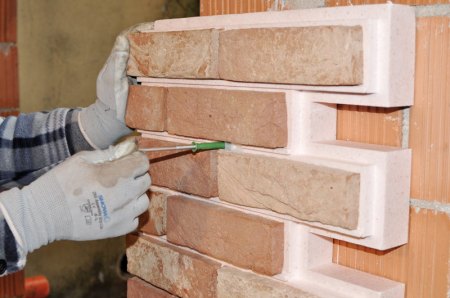
5. Inserire le viti con i tasselli attraverso le rondelle di ancoraggio.
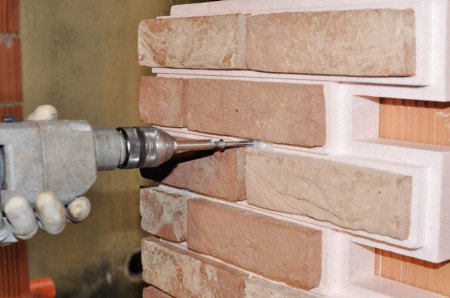
6. Chiudere le viti utilizzando un avvitatore.
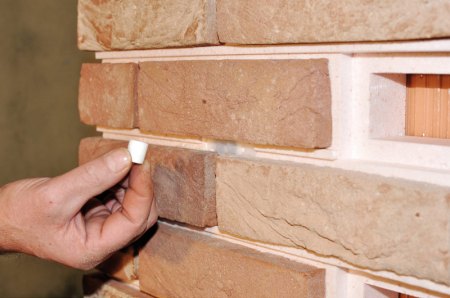
7. Coprire le teste delle viti con gli appositi cilindretti in EPS.
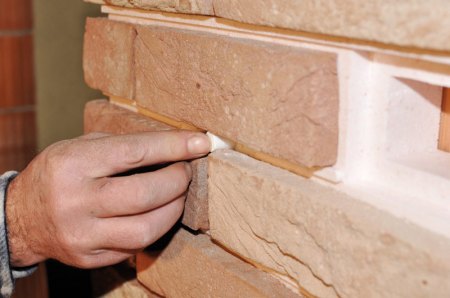
8. Spingere i cilindretti fino in fondo, onde eliminare il ponte termico.
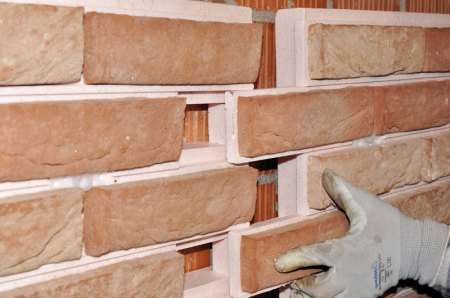
9. Appoggiare il pannello inserendolo nell’incastro a pettine che assicura un’ottima tenuta.
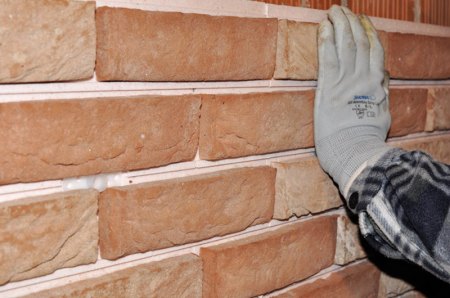
10. Spingere con le mani il pannello in diversi punti per far aderire la colla.
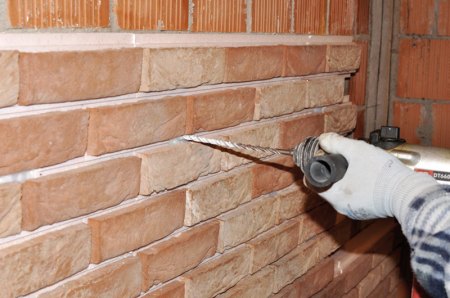
11. Forare il muro attraverso le rondelle di ancoraggio presenti.
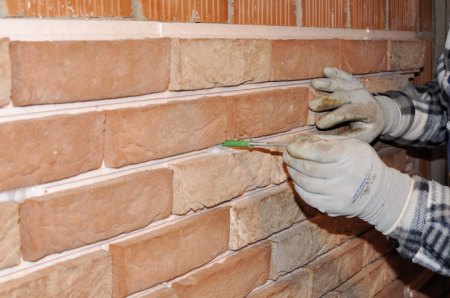
12. Inserire le viti con tasselli attraverso le rondelle di ancoraggio.
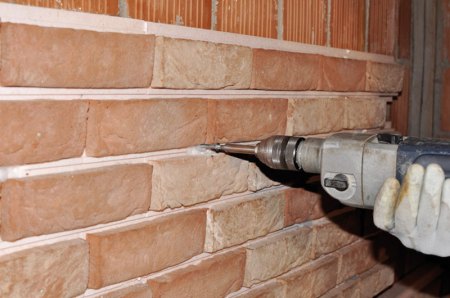
13. Chiudere le viti utilizzando un avvitatore.
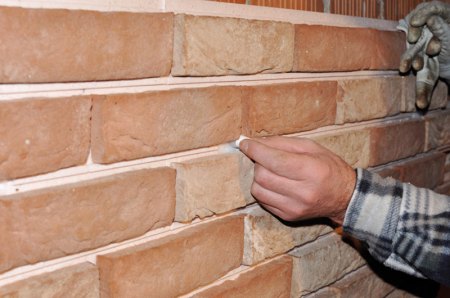
14. Coprire le teste delle viti con gli appositi cilindretti in EPS.
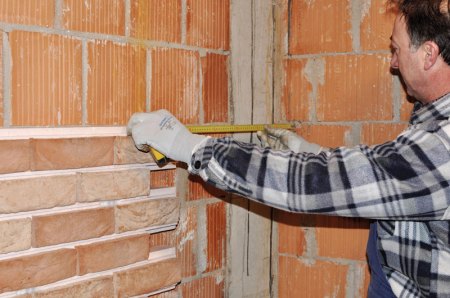
15. Misurare la lunghezza dello spazio rimanente
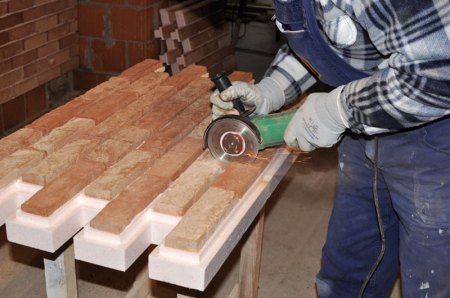
16. Tagliare prima i listelli del pannello con un flessibile.
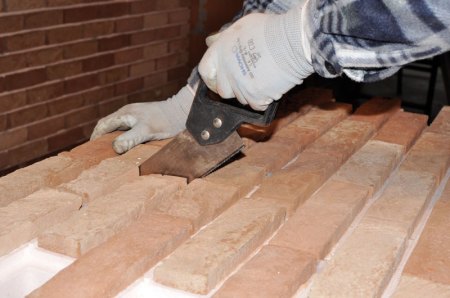
17. Completare il taglio del pannello con seghetto o taglierina a filo.
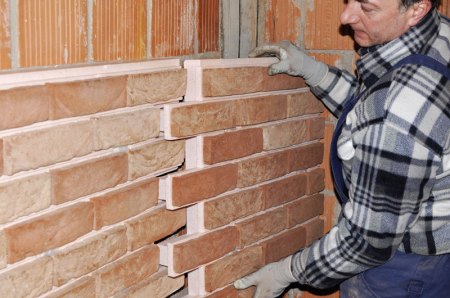
18. Appoggiare il pannello tagliato
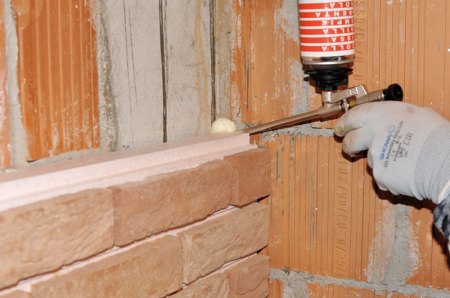
19. Applicare la colla IsoVista tra pannello tagliato e parete in modo da eliminare il ponte termico.
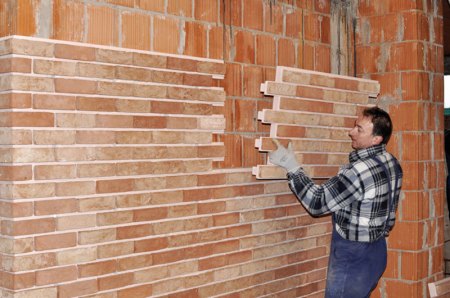
20. Ripetere la procedura fino a completamento della parete, seguendo sempre l’ordine dal basso verso l’alto.
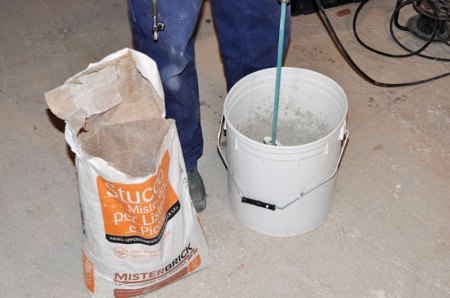
21. Preparare lo stucco per la finitura.
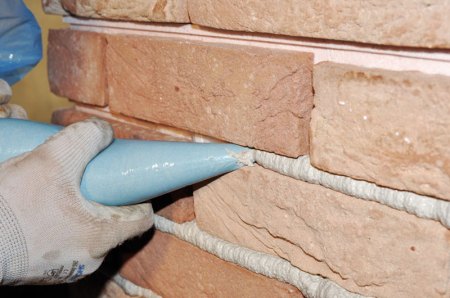
22. Eseguire la fugatura di tutta la parete.
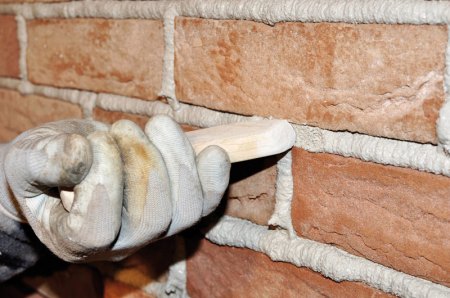
23. Stendere e schiacciare lo stucco
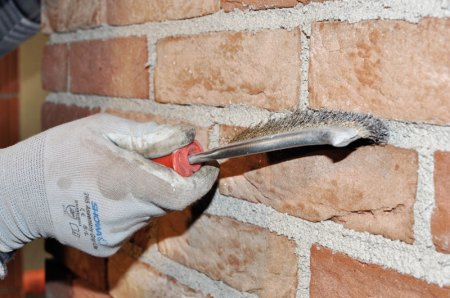
24. Completare la finitura con spazzola.